
When every square inch matters, small bathroom organization ideas space saving are about more than just buying cute baskets. You need a system that works with the room's actual dimensions, plumbing, and daily traffic. The good news?
You don't need a remodeling budget to make a tiny bathroom feel twice as functional.
The National Kitchen and Bath Association recommends at least 18 inches of clear space in front of a toilet and a 30-inch-wide path through the room. That's why the best storage plans start with spatial awareness, not shopping. Let's walk through the visual process of reorganizing a small bathroom step by step, as of 2026.
Why “More Storage” Is the Wrong First Move in a Small Bathroom
Before you buy another shelf, stop. The biggest mistake in small bathroom organization isn't clutter. It's adding storage that doesn't match the actual space.
A 12-inch-deep shelf sounds useful until it blocks the door or forces your knees sideways on the toilet.
Our research keeps pointing to the same rule: measure first, match the format to the zone, and let the room's shape dictate the storage. Manufacturer specs confirm that most over-toilet shelving units are built for standard 14-to-16-inch-wide toilet tanks. If yours is smaller or the tank sits closer to the wall, that unit won't fit.
If your bathroom is under 50 square feet, every inch counts.
- If the door swings inward, skip anything that protrudes more than 6 inches near the hinge.
- If the walls are full tile, choose adhesive or suction mounts over drilling, unless you own the place.
- If the bathroom is shared, assign each person a caddy or bin.
The National Kitchen and Bath Association notes that clear floor space is what makes a tiny bathroom feel open. NKBA guidelines suggest keeping at least 18 inches of open space in front of fixtures. That means storage should climb, not sprawl.
Think of it as editing before organizing. A wall of mismatched caddies creates visual noise, which makes a small room feel smaller. The right approach?
Relieve the flat surfaces first, then add vertical storage where it won't interfere with movement.
See the Space Differently: Mapping the Five Bathroom Zones
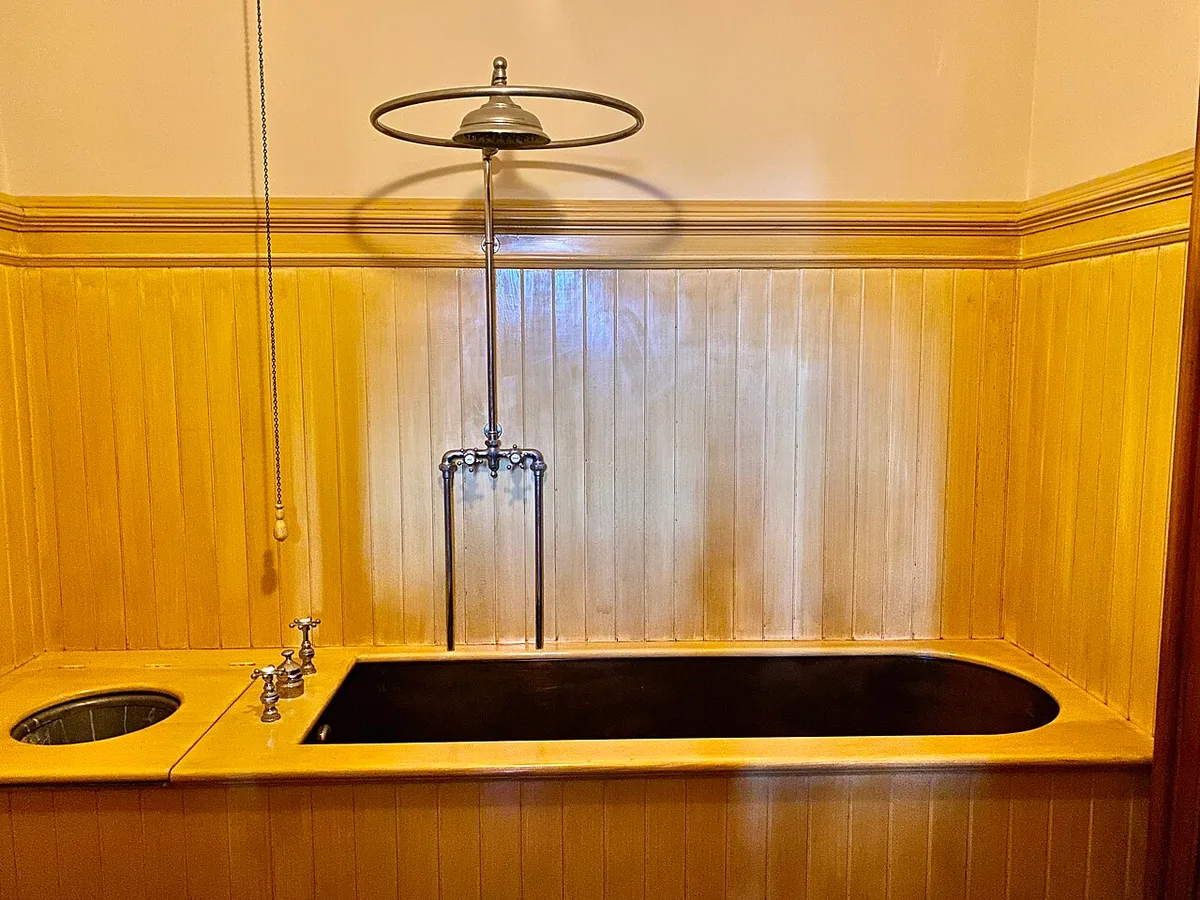
Image source: Wikimedia Commons / w_lemay (CC BY-SA)
Start by mentally splitting the room into five zones. Each zone has unique constraints and its own kind of clutter. This is where a simple diagram or photo of the room helps more than any product list can.
- Sink zone: countertop, backsplash, mirror cabinet. Keep daily use items only.
- Shower and tub zone: walls, corner caddies, and any built-in niche. Use waterproof, rust-resistant materials.
- Toilet zone: tank top, over-toilet shelves, and the wall beside it. Mind the tank width.
- Under-sink zone: plumbing eats into storage. Use risers, shallow trays, and sliding baskets.
- Vertical wall zone: unused space above doors, behind the toilet, and beside the mirror.
Look at the room as five separate problems. A corner caddy solves the shower zone but won't help the under-sink cabinet. Once you name the zone, the storage solution becomes more obvious.
You'll also notice that each zone has a natural "eye level" line. Things at eye level get seen and used. Things below the sink or above the mirror get forgotten.
So use those spots for backup supplies, not daily essentials.
The Visual Cue Cheat Sheet: What to Hang, What to Hide, What to Toss
Visual cues are everything in a cramped bathroom. If you can see it, it's fighting for your attention. Aggregate reviews from organizing guides and design sources suggest a simple filter: daily use items get visible storage, weekly items go behind a cabinet door, and broken or empty products go straight to the bin.
| Approach | What counts | Where it works |
|---|---|---|
| Hang | Daily-use towels, loofahs, razors, toothbrushes | Hooks, caddies, open shelves |
| Hide | Back-up toiletries, hair tools, cleaning supplies | Under-sink bins, mirrored cabinets, baskets |
| Toss | Expired products, empty bottles, duplicate half-used items | Trash or recycling |
Ask yourself one question for every item: Did I use this in the last 30 days? If no, it gets a temporary home in a bin. If yes, does it need to be within arm's reach?
Use that answer to decide between open and closed storage.
A clear container lets you see the contents at a glance. That's the whole point in a tiny room. The less time you spend searching, the better the layout actually is.
Step-by-Step Plan: Measure, Mount, and Style a Space-Saving Bathroom
This is the method we keep coming back to. It starts with paper, not shopping.
- Empty the room. Pull everything out and wipe down all surfaces.
- Measure every wall, nook, and clearance zone. Pay attention to the door swing, shower opening, and toilet tank width.
- Sort into piles: daily use, weekly use, and don't use.
- Test-fit storage before mounting. Use painter's tape to mark the footprint of a shelf on the wall.
- Mount the system. Use a stud finder for anything over 20 lb. Let adhesive strips cure for the full time stated on the packaging.
- Style with visible items first. Then hide the rest. Keep the countertop at least 50% clear.
A quick note on measurements: the clearance above a toilet tank should be at least 4 to 6 inches, or the lid won't lift. Tension rod organizers work best when the gap is stable and the rod is secured with rubber caps. If a shelf hangs over a switch or outlet, move it before drilling.
For renters, this step is easier than it looks. Many adhesive mounts hold up to 14 lb per pair when applied to a clean, dry surface. Just follow the cure time, usually between 24 and 48 hours, and don't hang a full bottle of shampoo within the first day.
Renters vs. Owners: The Visual Trade-Offs Between Temporary and Permanent Storage
Your living situation changes the right answer. Renters need reversible storage that protects security deposits. Owners can invest in built-in solutions that disappear into the room.
| Aspect | Temporary (renter) | Permanent (owner) |
|---|---|---|
| Mounting | Adhesive strips, tension rods, suction cups | Drill-in shelves, recessed niches, cabinet hardware |
| Weight capacity | 10 to 20 lb per hook or system | 30+ lb when secured to studs |
| Visual look | Visible caddies and racks | Built-in and flush designs |
| Removal | Peels off without leaving marks | Stays put for years |
Best options for renters include over-the-toilet tension shelves, adhesive hooks, suction cup corner caddies, and a mirror cabinet that requires no installation. Owners can consider recessed shower shelves, a wall-mounted linen tower, or upgrading to a medicine cabinet with integrated outlets.
The visual trade-off is real. Temporary storage saves your deposit but adds visual clutter. Permanent storage hides the system but costs more and needs planning.
If you're a renter, keep a patching kit handy for small screw holes at move-out. That simple step makes landlords a lot happier about hand-painted adhesive hooks.
Common Visual Mistakes That Make a Small Bathroom Feel Smaller
Small bathrooms don't just feel cramped because they're short on square footage. They feel cramped because of visual overload. Aggregate reviews from organizing communities and bathroom design discussions point to five recurring patterns.
- Blocking light sources. A shelf or caddy that hangs under the window scatters brightness and throws shadows across the room.
- Filling the wall at eye level. A row of mismatched racks and caddies creates clutter before you even add items.
- Using dark, heavy linens. A black bath mat and navy towels eat up light and shrink the room.
- Choosing opaque storage everywhere. Closed bins hide clutter, but they make the back wall look like a wall of boxes.
- Overcrowding the sink backsplash. Toothbrush holders, soap pumps, and lotions pile into a wall of product.
The fix? Treat visible storage like a single design system. Keep everything in one finish: white, bamboo, or brushed stainless steel.
Repeats in the same tone let the eye read the wall as background rather than stuff.
A side-by-side photo comparison makes this obvious. One image shows a cluttered shelf, towels in two colors, and three containers. The other shows the same shelf with a single shallow basket, one glass jar, and a neutral towel.
The cleaner version looks bigger, even though the layout didn't change.
If your bathroom has a window, keep storage low beside it. If the only light is an overhead fixture, keep at least half the floor clear. Light bouncing off open floor expands a room better than any mirror can.
Small Bathroom Storage FAQs
How do I organize a small bathroom with no cabinet space?
Start with the vertical wall space. A tension rod, over-toilet shelf, and adhesive hooks cover most needs without touching the floor. Use a shallow caddy for daily items.
Keep the floor clear so the room reads as open.
What is the best way to store toiletries in a small shower?
Use a corner caddy no deeper than 3 to 5 inches. Depth matters more than material. Wait 24 to 48 hours after mounting before loading heavy bottles.
Adjust the shelf height to keep shampoo at chest level, not floor level.
Do suction cup caddies work in small bathrooms?
They do, but only on smooth, clean, non-textured tile. Wet the cup slightly before pressing it into place. Warm showers and hard water break the seal over time.
Switch to adhesive strips if your tile is rough or the caddy keeps falling.
How much should a small bathroom organization setup cost?
A complete starter setup costs between $40 and $100. That budget covers a tension rod, two shallow shelves, and a set of hooks. More expensive pieces usually add thicker material, not smarter design.
You can upgrade later after living with the layout.
How can I make a tiny bathroom look bigger?
Clear the countertop and floor first. Use a mirror cabinet for reflection and hidden storage. Then pick one light color for towels and one accent color for a single accessory.
The fewer objects you see at once, the larger the room feels.