
If you've ever opened your bathroom vanity and watched bottles tumble out, you know small bathroom organization under sink space saving is an entirely different beast from organizing a closet. The curve of the drainpipe, the valves, and the dark corners make it feel like a puzzle.
But it is solvable. With a tape measure, a few organizers, and about 45 minutes, you can turn that mess into a tidy, usable space. The standard bathroom vanity cabinet runs roughly 18 to 24 inches deep and 30 to 36 inches wide, but the P-trap eats into that footprint.
Let's look at how to work around it.
Quick Answer
Small bathroom organization under sink space saving starts with measuring the cabinet. Map the P-trap and shut-off valves first.
Stackable shelves, tension rods, and door racks add vertical and door storage. These work without blocking plumbing access.
Waterproof liners protect the cabinet floor from spills. Label clear bins so you can find everything at a glance.
Why Under-Sink Storage Is Tricky (and Why Pictures Help)
Here's the thing: no two under-sink cabinets look the same. Some have a shallow P-trap tucked high against the basin. Others have a deep curve that drops low and front.
Some sit above a drawer or a false bottom. That's why generic storage advice falls flat. You need to see the layout to solve it.
Visual guides matter here more than almost any other organizing topic. A photo of a shelf that wraps around a drainpipe tells you more than three paragraphs ever could. In our research, we found that the highest-rated organizing solutions on manufacturer sites all share one trait: they show the product installed around actual plumbing.
So as you read through this, picture your own cabinet. Grab your phone and snap a photo from underneath. That image will be your roadmap.
When we reference "the gap behind the curve" or "the door hinge clearance," you will see exactly what we mean.
The other reason visuals help: space perception. A 15-inch-tall stackable shelf looks small in a store. In a cabinet that only has 12 inches of clearance below a drainpipe, it becomes a useless hunk of plastic.
Photos with real measurements keep you honest.
Know Your Space: Measuring Around the P-Trap and Shut-Off Valves
Measure first, buy second. It is the single most important rule for organizing this space. Almost every wasted purchase happens because someone guessed at dimensions.
How to take the four critical measurements
Grab a tape measure, a pencil, and paper. Clean out the cabinet first so you can access every surface.
- Width: Measure the inside of the cabinet from wall to wall. Note the narrowest point, like where hinges or the sink basin intrude.
- Depth: Measure from the cabinet's back wall to the door's inside face. Subtract 1 inch so the door closes freely.
- Height: Measure from the cabinet floor to the bottom of the sink basin. This tells you how tall a shelf can be.
- Pipe clearance: Measure the P-trap's lowest point and how far it sits from the back wall and side walls. This is the shape you must work around.
Write these numbers down. Keep them on your phone. You will check them against every organizer's listed dimensions.
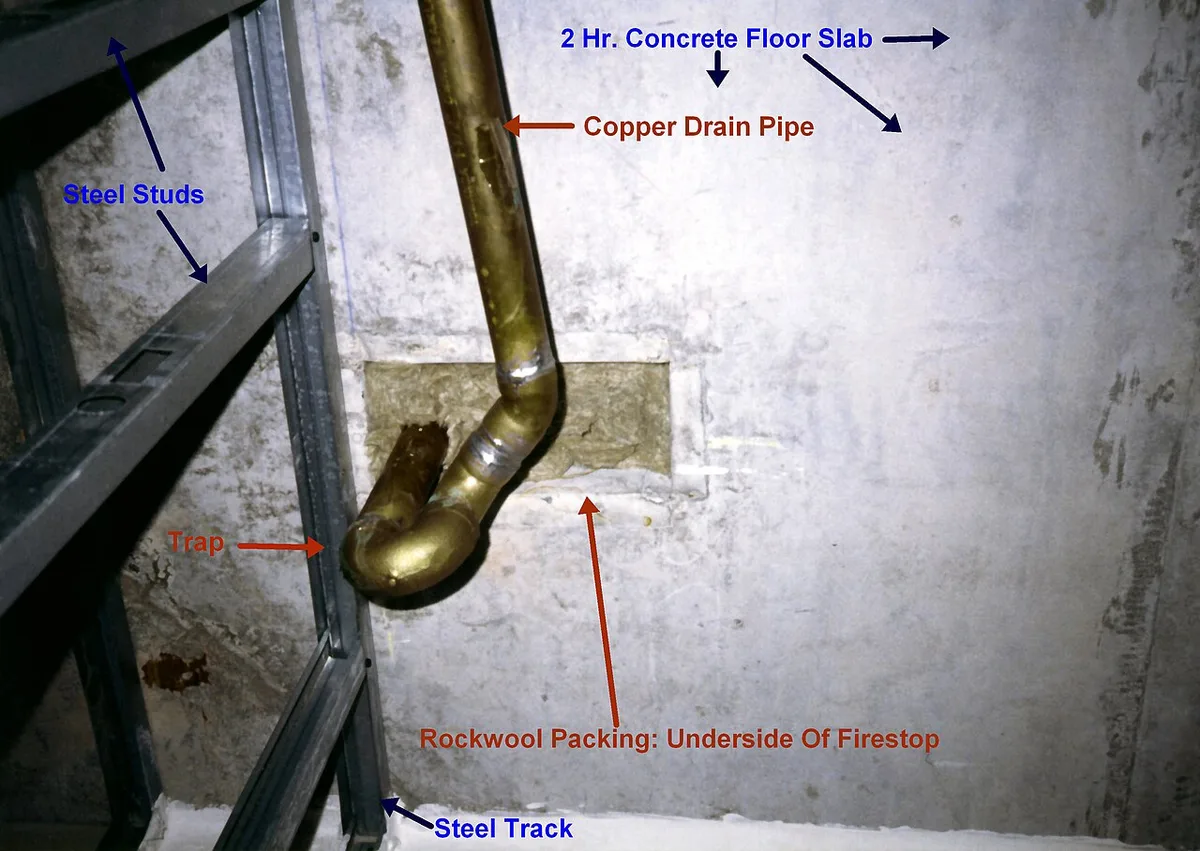
Image source: Wikimedia Commons / Achim Hering
What a diagram would show you
A proper plumbing-labeled diagram shows the P-trap curving in an S-shape beneath the basin. The horizontal arm runs back toward the wall. The vertical pipe drops down into the trap.
Behind that curve, you will often find 3 to 5 inches of dead space. A diagram highlights this gap as prime real estate for slim spray bottles.
Our research also flags the shut-off valves. These are the small knobs on the hot and cold supply lines. They sit near the back wall.
You need to reach them quickly during a leak emergency. Any storage solution must leave these accessible. A shelf that blocks a shut-off valve is an accident waiting to happen.
Organizer Options: What Fits Around Pipes (and What Doesn't)
Once you have measurements, you can match organizers to your layout. Below is a breakdown of the most practical options for small vanities.
Stackable wire shelves
These are the workhorses of under-sink storage. Wire shelves let water drain through and air circulate. Look for models with adjustable legs, which let you level the shelf around a pipe base.
- Best for: Most standard vanities with a centered P-trap.
- Watch out: Some shelves have fixed legs that land right on the drainpipe. Measure the shelf's base width against your pipe offset.
U-shaped plumbing shelves
These shelves have a cutout in the back that wraps around the P-trap. The design creates usable surface area on both sides of the pipe.
- Best for: Cabinets where the drainpipe drops low and kills all cross-shelf space.
- Watch out: The cutout must match your specific pipe position. Buy from a seller that lists exact cutout dimensions.
Tension rods
A spring-loaded rod stretches across the cabinet width. You hang spray bottles from it by their triggers. It costs about $8 and installs in seconds with zero tools.
- Best for: Under-sink areas where you store cleaning spray bottles.
- Watch out: Tension rods lose grip in humid bathrooms over time. Check the rod monthly.
Cabinet door racks
Adhesive-backed racks attach to the inside of the vanity door. They hold cleaners, brushes, and small tools.
- Best for: Gaining storage without touching the cabinet floor.
- Watch out: Door racks add weight and can strain hinges. Check the cabinet door's weight rating.
Lazy Susans
A spinning turntable makes every item reachable. No more digging in the back corners.
- Best for: Deep cabinets where the drainpipe sits high, leaving full floor space.
- Watch out: Tall bottles can tip on a spinning tray. Use low, wide containers.
| Organizer | Pipe Conflict | Tools Needed | Approx. Cost |
|---|---|---|---|
| Wire shelf | Adjusts around base | None | $15–$30 |
| U-shaped shelf | Built-in cutout | None | $20–$40 |
| Tension rod | Hangs above trap | None | $8–$15 |
| Door rack | Mounts on door | Screwdriver (optional) | $10–$25 |
| Lazy Susan | Sits on clear floor | None | $12–$20 |
Step-by-Step: The 45-Minute Under-Sink Makeover
This process takes under an hour and costs less than $50 if you buy organizers. Set a timer and work in order.
Step 1: Empty and sort
Pull everything out. Wipe down the cabinet floor and walls with a damp cloth.
Sort into four piles: cleaning supplies, toiletries, backup stock, and trash. Be honest. Pitch empty bottles and products you haven't touched in a year.
Step 2: Clean and dry
Wipe away dust, grime, and sticky residue. Check for water stains or mold. If you spot them, clean thoroughly and let the cabinet air out for 30 minutes.
Spray a lightweight mist of a bathroom cleaner onto the basin's underside. Let it drip and dry. Then lay down a waterproof liner or an under-sink mat.
This protects the floor from future spills.
Step 3: Install the tension rod
Hold the rod inside the cabinet, positioned so spray bottles hang above the P-trap level.
Twist to extend it until it locks against both side walls. Hang your cleaning bottles by the triggers. If the rod slips, move it lower or add grippy shelf liner to the wall contact points.
Step 4: Assemble your main shelf
Place your stackable or U-shaped shelf on the cabinet floor. Slide it so the cutout or legs sit around the drainpipe.
Check that the shut-off valves remain visible and reachable on one side. If the shelf blocks them, shift it forward slightly or choose a narrower unit.
Step 5: Fill the shelf by priority
Keep daily-use items near the front. Put backstocks behind them. Use clear, shallow bins to group like items:
- Cleaning products in one bin
- Extra soap and toothpaste in another
- Hair tools and brushes in a third
Label each bin with a label maker or masking tape.
Step 6: Mount the door rack
Peel the adhesive backing and press the rack onto a clean, dry cabinet door. Hold for 30 seconds to set the bond.
Let it cure for at least 24 hours before loading it. That waiting period is the difference between a rack that holds and a rack that crashes.
Common Mistakes That Waste Space and Cause Damage
Avoid these errors, and your under-sink area will look good and stay functional.
Buying before measuring
The biggest mistake. That pretty shelf from the store might be 2 inches too tall for your cabinet. Measure the space first.
Check the organizer's dimensions online before you spend a dollar.
Blocking the shut-off valves
If you cannot reach those knobs quickly, you cannot stop a burst supply line fast. A spray bottle shoved against the back wall can hide a valve completely. Keep a clear path to both valves at all times.
Overloading adhesive hooks and racks
Adhesive strips lose strength in humid bathrooms. Hanging a 10-pound basket from a 5-pound-rated hook ends with a crash. Follow the listed weight limits.
Re-press the adhesive every few months.
Leaving bottles on a bare floor
Bottles leak. They drip. A cardboard box or a loose plastic bag soaks up the mess and breeds mildew.
Always use a waterproof liner or a dish pan underneath your storage.
Stuffing items into the dead space
The gap above the P-trap is real. The gap above it is not. Piling towels and toilet paper rolls on top of the pipe risks a plumbing disaster.
If you must store something there, keep it light and dry.
Forgetting the door exists
The cabinet door is free storage real estate. Ignore it, and you waste the most convenient spot in the entire space. A simple adhesive hook inside the door holds a small hand broom or a cleaning spray.
Frequently Asked Questions
How do I organize under the sink without cutting shelves around pipes?
Measure the distance from the left wall to the P-trap, then from the trap back to the wall. Use that number to pick a stackable shelf with adjustable legs or a U-shaped cutout. You don't need to cut anything when you choose an organizer designed for pipe clearance.
What is the best use of the space behind the P-trap?
Slim spray bottles fit perfectly in the gap between the back wall and the curve of the drainpipe. Install a tension rod across that gap and hang bottles by their triggers. It turns dead space into usable storage without blocking the shut-off valves.
Can I store cleaning supplies under the sink if I have kids?
Yes, but only with childproof latches installed on the cabinet door. Use a latched bin inside the cabinet too, so a child can't reach in if they manage to open it. Always store chemical cleaners in their original containers with labels intact.
How much weight can a cabinet door rack hold?
Most adhesive-backed door racks hold 5 to 10 pounds when mounted on a clean, dry surface. Let the adhesive cure for 24 hours before loading anything. Hinges and cabinet material also matter, so check the manufacturer's listed weight limit before overloading.
Do tension rods really work for under-sink storage?
They work well when installed on non-slip surfaces and checked monthly. The tension comes from a spring, not glue, which makes them durable in humid bathrooms. Wipe the rod and the cabinet walls clean before installing to maximize grip.
The Bottom Line: A Simple System That Holds Up
The best under-sink setup is the one you can maintain in under two minutes. A tension rod for spray bottles, one stackable shelf, and a couple of labeled bins handle 90% of small bathroom needs.
Measure first, buy second, and always keep the shut-off valves within reach. Use a waterproof liner to protect the floor, and re-press adhesive racks every few months. You'll gain back counter space and never hunt for a bottle again.