
If your kitchen has one skinny cabinet, two awkward shelves, and a snack pile that keeps sliding forward, you’re not alone. The best small pantry organization ideas for apartments start with layout, not shopping. You need to see what you own, reach it easily, and stop wasting space in the back of cabinets.
Most standard upper kitchen cabinets are about 12 inches deep, while base cabinets are often about 24 inches deep. That difference matters because deep shelves need pull-out storage, while shallow shelves need vertical stacking. Once you treat the pantry like a small floor plan, the whole setup gets easier.
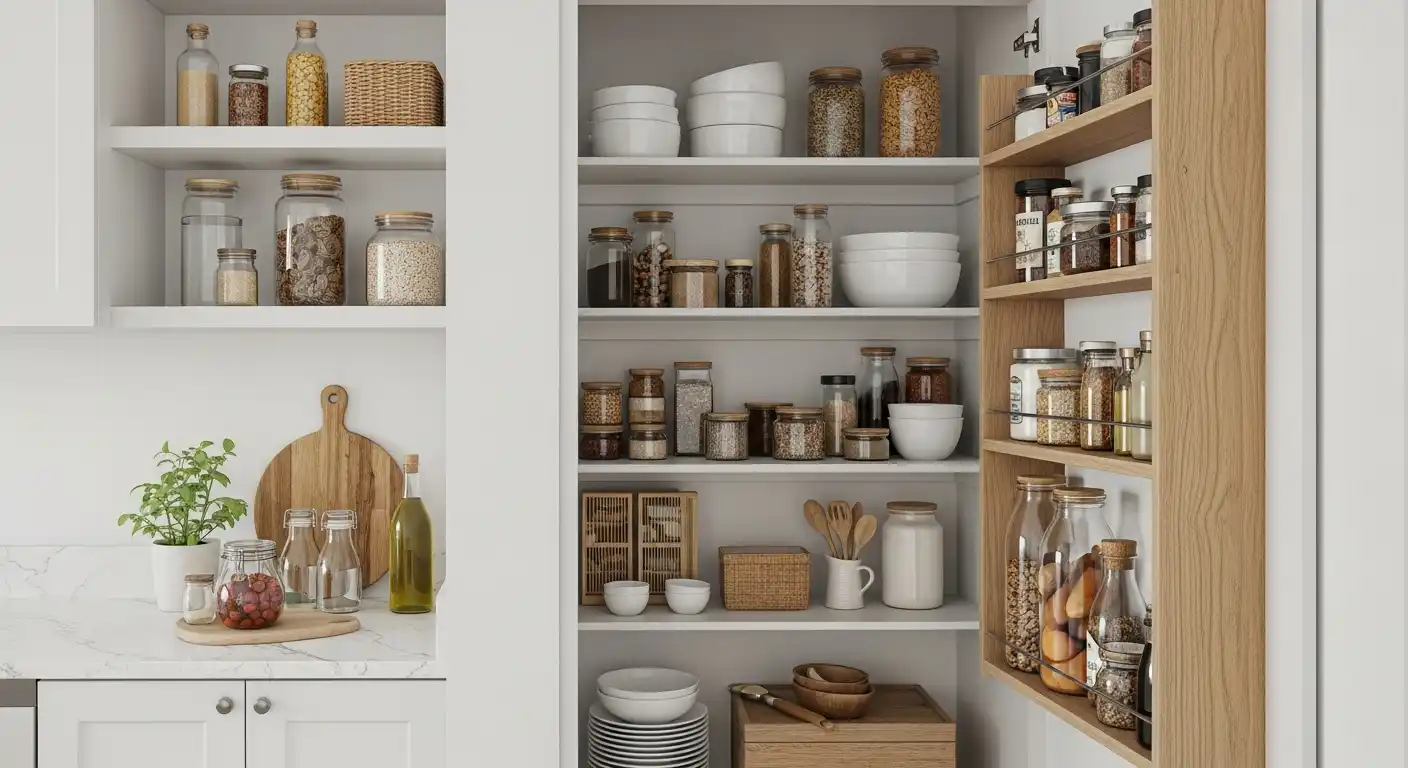
Image source: Web (Bing) / cookwarely.com (Web image (fair-use with source credit))
Quick Answer
Small pantry organization ideas for apartments work best with clear zones. Use shelf risers, bins, turntables, and door storage. Measure before buying any organizer.
Store heavy items low and daily items at eye level. Keep 10% to 20% open space.
Why Small Apartment Pantries Need a Visual Plan Before You Buy Anything
A small pantry is really a tiny storage map. If you can’t picture where food goes before you buy bins, you’ll probably end up with nice-looking containers that don’t fit. That’s the mistake that wastes the most money.
Visual planning matters because apartment kitchens are rarely generous or square. You might be working with one narrow cabinet, a deep lower cabinet, open shelving, a freestanding pantry cabinet, or a rolling cart beside the fridge.
A simple sketch helps more than a shopping list. Draw the shelves as rectangles, then mark what you use most. Put breakfast foods, snacks, coffee, and weeknight dinner staples where your hand naturally goes.
In our research, the most functional pantries use visibility first. Clear pantry bins, open-front baskets, lazy Susans, and tiered shelf risers all solve one problem: they let you see food before it expires.
For food safety, keep pantry food cool, dry, and away from cleaning products. The U.S. Food and Drug Administration provides guidance on food storage, labeling, and contamination prevention.
That matters even in a tiny apartment setup.
Think of your pantry like a photo. If the photo looks crowded, your real-life pantry will feel crowded too.
Step 1: Measure Your Pantry, Cabinets, and Door Clearance
Measure first. Buy second. That one step saves the most money.
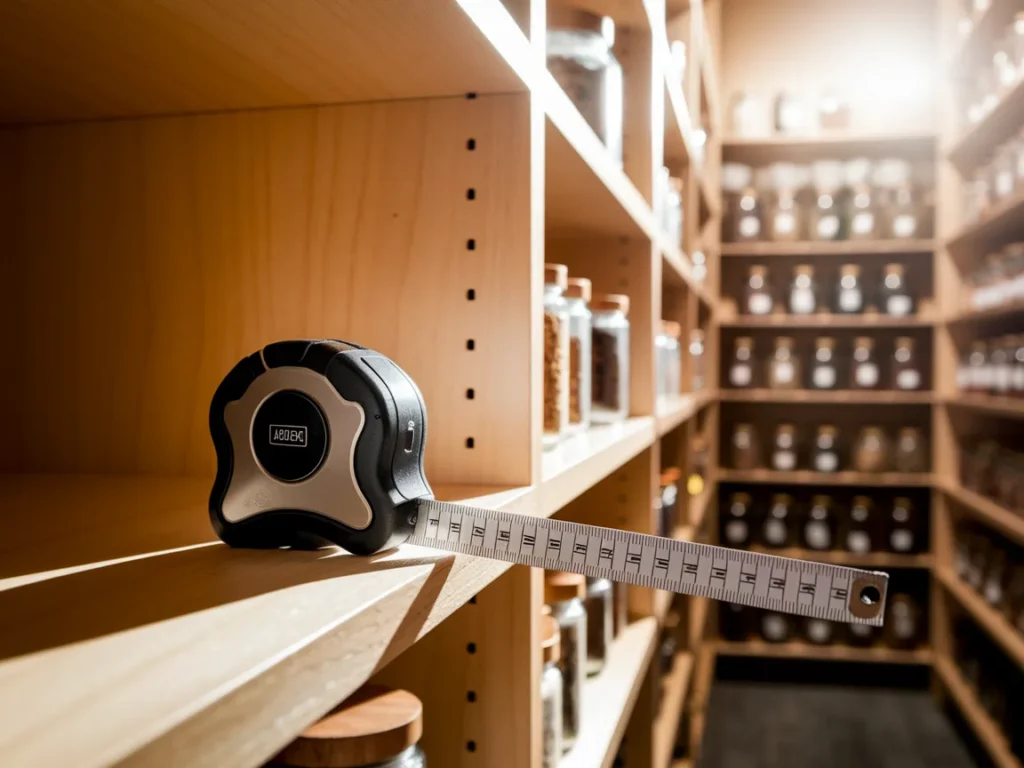
Image source: Web (Bing) / thestyleverge.com (Web image (fair-use with source credit))
You need four numbers before choosing pantry organizers:
| Measurement | Why it matters |
|---|---|
| Shelf width | Tells you how many bins fit side by side |
| Shelf depth | Decides whether you need pull-out bins or risers |
| Shelf height | Shows if stackable containers will fit |
| Door clearance | Prevents racks from hitting shelves or hinges |
Use a tape measure and write the numbers down. Don’t trust your eye. A bin that looks small online can waste half a shelf if the depth is wrong.
Measure the inside space, not the outside cabinet frame. Check hinges, trim, pipes, shelf lips, and door swing. These small details decide whether over-the-door racks and slide-out organizers will work.
As of 2026, many common pantry bins run 10 to 16 inches deep. That works well for standard upper cabinets. Deep lower cabinets often need a pull-out drawer or handled bin, or the food in the back disappears.
Before installing anything, check manufacturer specifications for weight limits. This matters for canned food, rice, flour, pet food, and glass jars. A shelf full of jars gets heavy fast.
Step 2: Map Simple Pantry Zones Based on How You Actually Cook
Pantry zones are grouped storage areas based on use. They work because your brain finds “breakfast” faster than it finds “top shelf, left bin, behind cereal.”
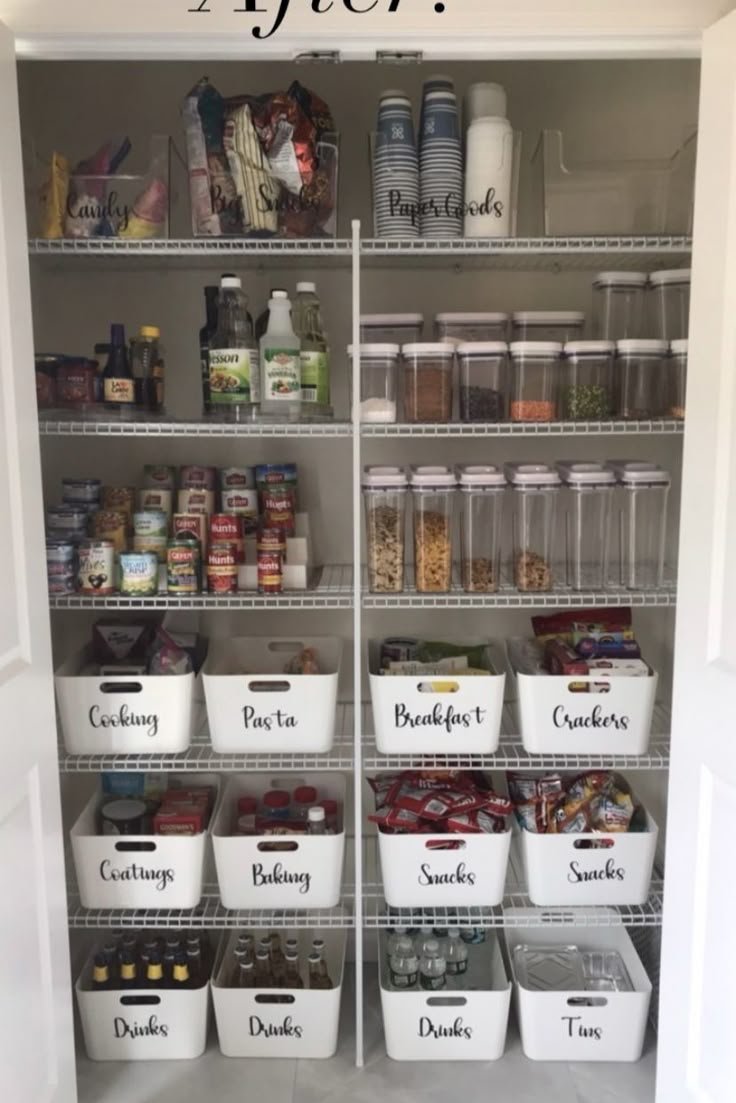
Image source: Bing (Web (fair-use with source credit))
Start with your real habits, not an ideal version of your kitchen. If you make pasta twice a week, pasta sauce deserves prime space. If you bake twice a year, baking supplies can go higher.
Useful apartment pantry zones include:
- Breakfast: cereal, oats, nut butter, coffee, tea
- Snacks: granola bars, chips, crackers, kids’ snacks
- Weeknight dinners: pasta, rice, sauces, canned beans
- Baking: flour, sugar, baking powder, chocolate chips
- Spices and oils: seasonings, vinegar, cooking oils
- Backstock: unopened duplicates and bulk items
- Use-first bin: food close to its best-by date
Keep daily items at eye level. Store heavy cans, jars, and bulk bags low. Put lightweight extras higher up.
If you share an apartment, give each roommate one labeled zone. It prevents mix-ups and keeps the pantry from turning into a pile of mystery groceries.
Allergy-friendly homes need a stricter layout. Keep allergen-free foods in a separate bin or shelf. Store them above foods that could spill crumbs or powder.
Step 3: Choose the Right Organizers for Your Pantry Shape
The best organizer depends on the shape of your storage. A turntable can be perfect in a corner, but useless in a narrow shelf. A woven basket may look warm, but it can hide duplicates.

Image source: Web (Bing) / pinterest.com (Web image (fair-use with source credit))
Use this quick match:
| Pantry shape | Best organizer | Best use |
|---|---|---|
| Deep shelf | Pull-out bin or drawer | Backstock, cans, pasta |
| Narrow cabinet | Shelf riser | Cans, jars, spices |
| Corner shelf | Lazy Susan | Oils, sauces, condiments |
| No pantry | Slim rolling cart | Snacks, dry goods, drinks |
| Cabinet door | Lightweight rack | Spices, packets, wraps |
Clear pantry bins are best when you need visibility. Airtight containers are best for opened dry goods, like flour, rice, cereal, and sugar. An airtight container has a sealed lid that helps slow moisture, pests, and staleness.
Don’t decant everything. Decant foods you use often, foods in messy bags, or foods that go stale after opening. Keep odd items in original packaging if the cooking instructions matter.
For deep shelves, handled bins beat loose containers. Pull the whole bin forward, grab what you need, and slide it back. This stops old food from getting trapped behind newer groceries.
For freestanding cabinets, check tip-over safety. The U.S. Consumer Product Safety Commission shares guidance on furniture stability and anchoring.
Heavy pantry cabinets should be secured when possible, especially around children or pets.
Deep shelves: pull-out bins, turntables, and labeled backstock
Deep shelves need movement. If the organizer doesn’t slide, spin, or pull forward, the back half becomes dead space.
Use pull-out bins for pasta, rice, canned goods, and unopened extras. Use a lazy Susan for jars, oils, vinegars, and sauces. Add a “backstock” label so you don’t keep buying duplicates.
Narrow cabinets: stackable bins, shelf risers, and slim containers
Narrow cabinets work best when you build upward. Shelf risers create a second level for cans, jars, and spices.
Choose square or rectangular containers instead of round ones. Round containers waste space along cabinet walls. Slim bins also keep snack bags from flopping sideways.
No pantry: rolling carts, freestanding cabinets, and open shelves
If your apartment has no pantry, create one. A slim rolling cart can fit beside a fridge or under a counter edge. A freestanding pantry cabinet works better if you need closed storage.
Open shelving can look nice, but it needs discipline. Use matching bins for visual calm. Keep messy packaging inside baskets, not scattered across the shelf.
Cabinet doors: lightweight racks, hooks, and spice storage
Cabinet doors are great for light items. Think spice jars, seasoning packets, measuring spoons, foil, and food wrap.
Check clearance before adding a rack. Close the door slowly with the shelves full. If anything scrapes, move the rack or switch to adhesive hooks for lighter storage.
Step 4: Set Up the Pantry So Everything Is Easy to See and Reach
Start by emptying the space completely. Wipe the shelves, check best-by dates, and group food on the counter before anything goes back. You’ll spot duplicates fast when all the rice, pasta, snacks, and cans sit together.
Use the “one motion” rule. If you need to move three things to reach oatmeal, that spot won’t work long-term. Daily items should be visible and reachable in one motion.
A good small pantry layout usually looks like this:
| Pantry level | Best items to store there |
|---|---|
| Top shelf | Backstock, paper goods, light extras |
| Eye level | Breakfast, snacks, coffee, dinner staples |
| Lower shelf | Cans, jars, rice, flour, pet food |
| Door storage | Spices, packets, wraps, lightweight items |
Put older food in front and newer food behind it. This is the FIFO system, short for first in, first out. It helps you use what you already have before opening another bag.
Leave a little breathing room. A pantry packed edge to edge looks efficient, but it’s harder to maintain. Aim for about 10% to 20% open space if you can.
Labels help most when they describe a category, not a fantasy. “Dinner shortcuts” works better than “grains and legumes” if that’s how you cook. Use plain labels your whole household understands.
Common Small Pantry Organization Mistakes to Avoid
The biggest mistake is buying organizers before measuring. The second biggest is buying too many. A small pantry needs fewer, smarter pieces, not a wall of matching bins.
Watch out for these common problems:
- Using opaque baskets for food you forget easily
- Storing heavy jars on high shelves
- Decanting foods with cooking directions you still need
- Putting snacks in five different places
- Letting backstock mix with open food
- Ignoring door clearance
- Overloading wire shelves
- Storing food near cleaning supplies
Pretty storage can become a trap. If a setup looks good only when every container is perfectly filled, it won’t survive a normal grocery week. Real pantries need space for half-used pasta, odd snack bags, and one-off ingredients.
If pantry moths, ants, or moisture show up, simplify fast. Toss contaminated food, clean shelf corners, and move open dry goods into airtight containers. Check flour, cereal, rice, nuts, and pet food first.
Also be careful with adhesive organizers. Manufacturer specs often list weight limits under ideal surface conditions. Steam, grease, painted doors, and textured cabinets can weaken the bond.
Frequently Asked Questions
How do you organize a small pantry with no pantry closet?
Use one cabinet, a slim rolling cart, or a freestanding pantry cabinet as your main food zone. Keep daily foods together instead of spreading them around the kitchen. Add shelf risers, clear bins, and a small backstock area so the setup works like a real pantry.
Are clear bins or baskets better for apartment pantry storage?
Clear bins are better for food you need to track, like snacks, packets, pasta, and baking items. Baskets work well for messy packaging or visual clutter on open shelves. If you forget what you own, choose clear storage first.
Should you decant food into airtight containers?
Decant opened dry goods that spill, go stale, or attract pests. Flour, sugar, rice, cereal, oats, and snacks are good candidates. Don’t decant every item just for looks, especially if you need cooking instructions, allergen labels, or expiration dates.
How much does a small apartment pantry setup usually cost?
A basic setup can cost about $25 to $75 if you use a few bins, risers, and labels. A fuller setup with airtight containers, turntables, and pull-out drawers may run $100 to $150 or more. Measuring first keeps the budget under control.
What’s the easiest way to keep a small pantry organized?
Do a 10-minute reset once a week before grocery shopping. Put stray items back in their zones, move older food forward, and check your use-first bin. This quick habit prevents duplicate purchases and keeps small shelves from getting crowded again.